PHP:图像模糊处理(加马赛克)方案对比两则
项目中有个功能需求,对部分图像的浏览做鉴权。未授权前能粗略分辨照片但又要保证原图不被下载保护私隐。虽然一行CSS也可能做到模糊效果,但这种处理手法手略懂前端知识的人可以轻易绕过。所以比较慎重的做法还是后端先对图像预先处理。
把需求进一步简单推理概括的话,就是给图像加上马赛克或做模糊处理。脑子里有个2个比较相似方案。
方案1. 对图像加工(缩小)成仅满足前端显示需要的尺寸,对全图加马赛克处理;
方案2. 对图像加工成更小(大约60x60)的小缩略图,在前端做拉伸覆盖显示,像素在浏览器端拉扯成马赛克(我还真是个逻辑鬼才)
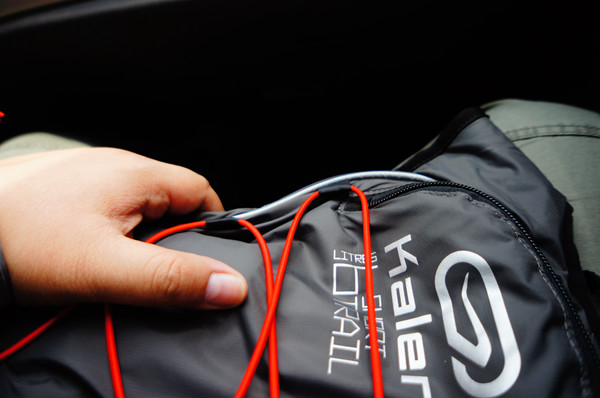
原图(blog做了resize):

方案一加马赛克:

方案二缩小成图标大小再拉伸平铺

构思初步成型,顺便也来比较一下两种做法的处理效率。
方案一
/**
 * maskpic1()
 * 生成10x10马赛克图,尺寸最大为 600x600
 * @param string $imgfile filepath
 * @return void
 */
function maskpic1($imgfile){
    $im_in = @imagecreatefromjpeg($imgfile);

    $newlen = 60;//新文件的基准宽度(最大值)
    list($in_w,$in_h) = getimagesize($imgfile);
    if($in_w > $in_h){ //以宽为参考最大值
        $new_w = $newlen;
        $new_h = round($newlen*$in_h/$in_w);
    }else{ //以高为参考最大值
        $new_h = $newlen;
        $new_w = round($newlen*$in_w/$in_h);
    }

    //先生成一个小图
    $im_s = imagecreatetruecolor($new_w,$new_h);
    imagecopyresampled($im_s,$im_in,0,0,0,0,$new_w,$new_h,$in_w,$in_h);
    imagedestroy($im_in);

    //渲染马赛克
    $maskSize = 10;
    $im = imagecreatetruecolor($new_w*$maskSize,$new_h*$maskSize);
    $idx_x = 0;
    $idx_y = 0;
    while($idx_x < $new_w){
        while($idx_y < $new_h){
            $color = imagecolorat($im_s, $idx_x, $idx_y);//采样像素的颜色
            imagefilledrectangle($im, $idx_x*$maskSize, $idx_y*$maskSize, ($idx_x+1)*$maskSize, ($idx_y+1)*$maskSize, $color);
            $idx_y++;
        }
        $idx_y = 0;
        $idx_x++;
    }
    imagedestroy($im_s);

    $savepath = "output/1/";
    $newfile = $savepath.getfilenamefrompath($imgfile);
    imagejpeg($im,$newfile,80);
    imagedestroy($im);
}

/**
 * getfilenamefrompath()
 * 从完整路径中取出文件名本体
 * @param mixed $filefullpath
 * @return
 */
function getfilenamefrompath($filefullpath){
    $fname = '';
    return substr($filefullpath,strrpos($filefullpath,'/')+1);
}
方案二
/**
 * maskpic2()
 * 把文件缩小成极小缩略图,
 * 在前端呈现的就是模糊照片
 * @param string $imgfile filepath
 * @return void
 */
function maskpic2($imgfile){
    $im_in = @imagecreatefromjpeg($imgfile);

    //cover的方案,要计算截取的坐标
    $newlen = 60;//新文件的基准宽度(最大值)
    list($in_w,$in_h) = getimagesize($imgfile);
    if($in_w > $in_h){ //以宽为参考最大值
        $new_w = $newlen;
        $new_h = round($newlen*$in_h/$in_w);
    }else{ //以高为参考最大值
        $new_h = $newlen;
        $new_w = round($newlen*$in_w/$in_h);
    }

    $savepath = "output/2/";
    $im = imagecreatetruecolor($new_w,$new_h);

    imagecopyresampled($im,$im_in,0,0,0,0,$new_w,$new_h,$in_w,$in_h);
    imagedestroy($im_in);
    $newfile = $savepath.getfilenamefrompath($imgfile);
    imagejpeg($im,$newfile,80);

    imagedestroy($im);
}
测试处理整个目录内的jpg文件
//如果1分钟无法完成全部图像,中断
$maxruntime = 60; //秒
$sec_init = time();
$source_path = "path/to/input/images/"; //待处理的原图像路径

$file_list = scandir($source_path);
$exec_count = 0;//处理文件个数
foreach($file_list as $fname){
    if(strstr(strtolower($fname),".jpg")){
        maskpic2($source_path.$fname);    //修改此处切换两种处理方案
        $exec_count++;
        if((time()-$sec_init) >$maxruntime) break; //超时中断处理
    }
}

//输出处理的文件数和耗时
echo($exec_count." files processed, time cost:".$sw->cost()); //$sw 是计时函数,实现略
往本地测试输入文件夹扔进去500个 8M像素(单个文件平均约3MB大小)的照片。
又在阿里云上跑了一次100个文件的处理对比。
本地测试服CPU内存性能过剩,硬盘IO可能效能略低;
阿里云相反,硬盘IO性能较高,CPU与内存为 1核2G较低;
测试结果略感意外,处理马赛克增加的计算量似乎并没有增加太大的负担,数据如下:
方案一(马赛克)
本地测试服务器:218 files processed, timecost:60.740002155304
阿里云主机:100 files processed, timecost:28.780230998993
方案二(微缩图)
本地测试服务器:226 files processed, timecost:60.698757886887
阿里云主机:100 files processed, timecost:28.897515058517
结论
两种处理方法在性能上相差不大约5%,如果不是非常海量的图像需要处理,可以近似认为效率无差别。
方案一的马赛克观感较佳;方案二的微缩图则比较节省存储空间与带宽。权衡偏好都可以采用。
